How do I setup port forwarding on my LightHub Zyxel XMG 3927 router?
Written by KCOM Support on 10/09/2024. Posted in Broadband.
How do I setup port forwarding?
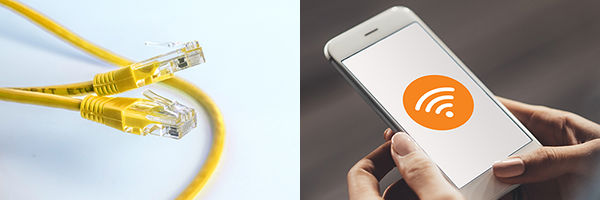
- Connect a device to your Zyxel router using an Ethernet cable (recommended) or Wi-Fi.
![Connect to Ethernet or Wi-Fi]()
- Open a new web browser and type 192.168.1.1 and press enter or go.
![Enter URL]()
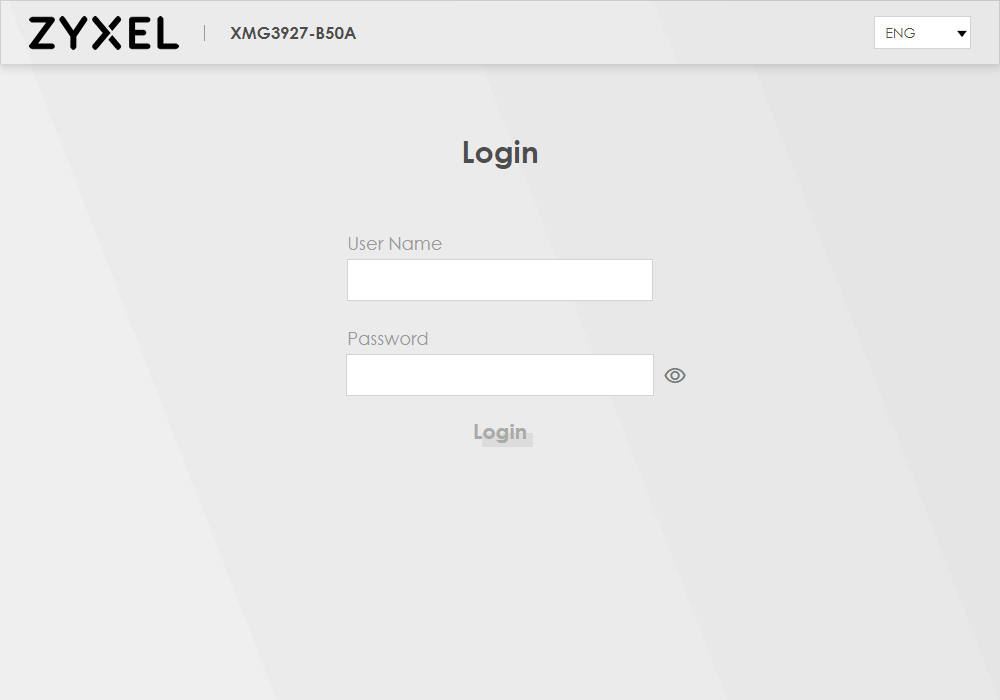
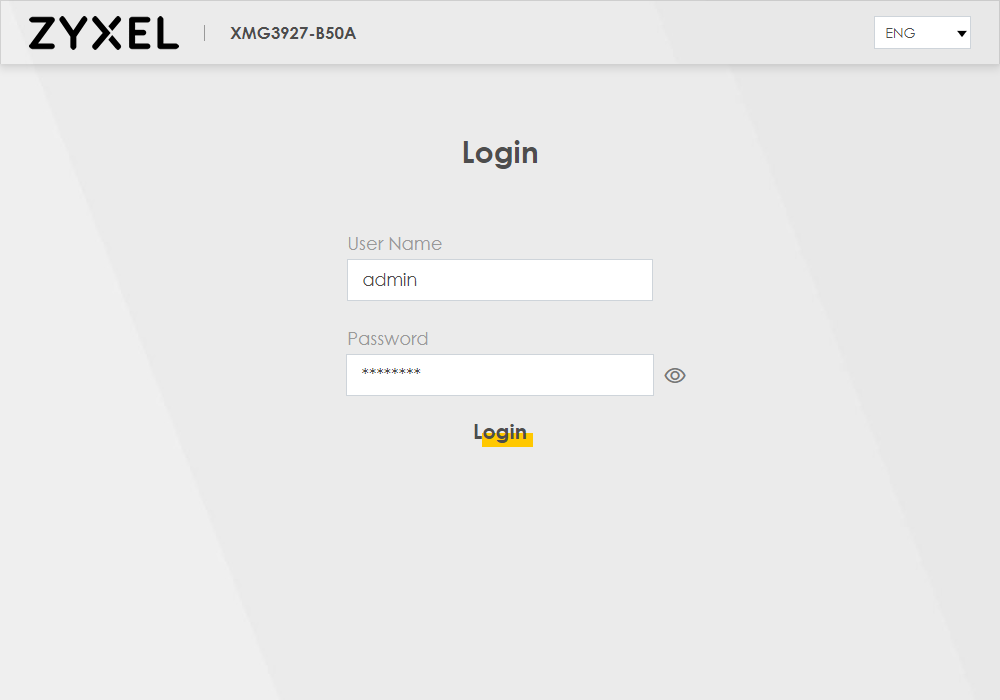
- You should now see a Zyxel screen asking you to Login - we'll explain where to find these details in the next step.
![Login]()
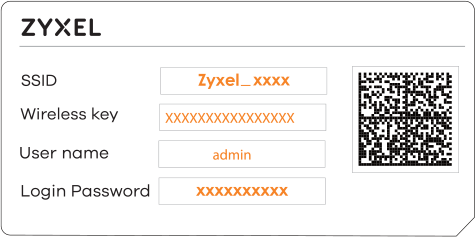
- To log into your router, you're going to need the username and password which you can find on the little card that comes with your router. This is normally located on the slot on the back.
![Details Card]()
Type in the username and login password, then select Login.If this password doesn't work, you'll need to factory reset your router. To do this, find a pin and push it into the 'Reset' hole on the back of the router for 10 seconds. After a few minutes when your router has turned back on, go back to Step 1.
![Login Details]()
- Once you're logged into the router, you'll see the Home screen. This is where you get an overview of what's happening on your router. At the top right of the screen, select the three black lines to open the Menu.
![Menu Button]()
- Select Network Setting then Home Networking.
![Home Networking]()
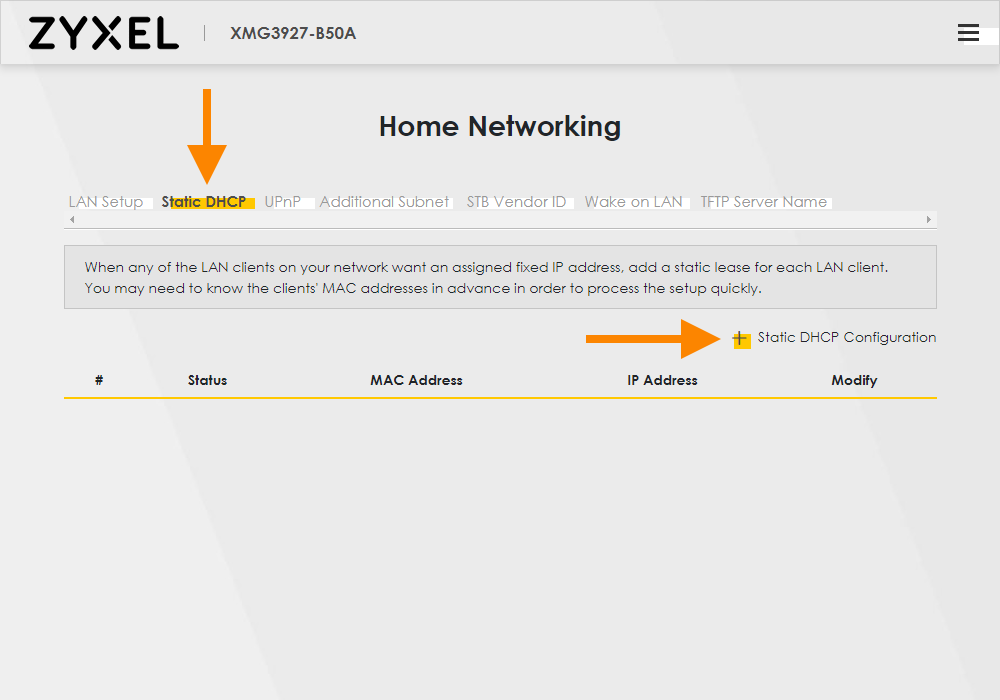
- A page labelled Home Networking will open. The first thing we need to do is set your device to always use the same IP address.
Select the Static DHCP tab at the top and then press Static DHCP Configuration to the right.
![Static DHCP]()
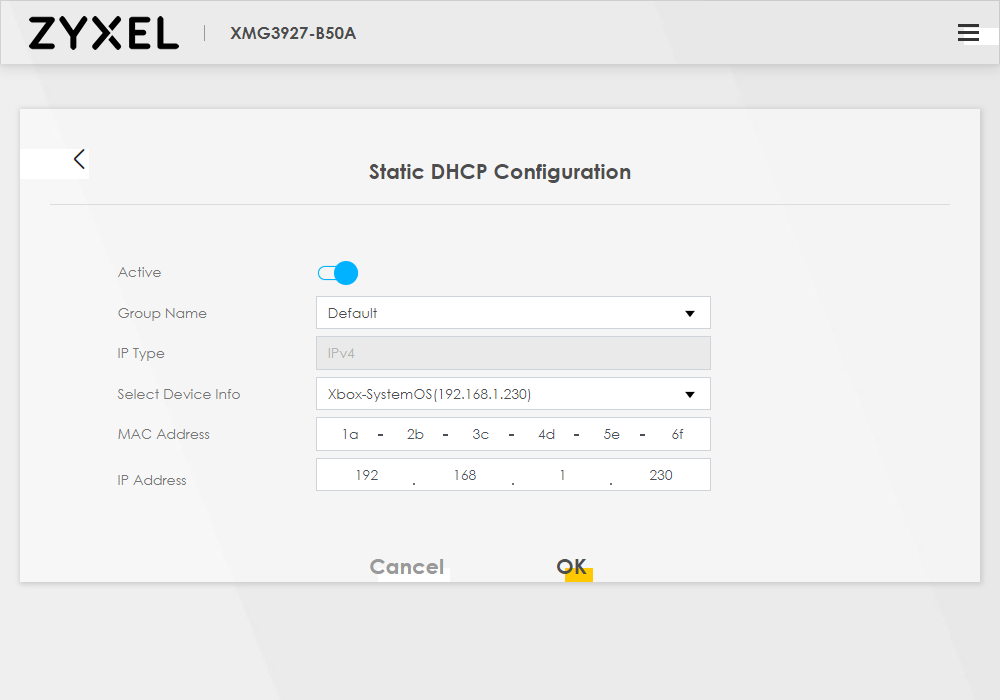
- Once inside the Static DHCP Configuration page, set the following:
- Active - Switch on
- Group Name - Can be left as Default
- IP Type - Leave this as IPv4
- Select Device Info - This will show a drop down menu of all devices connected to your home network. You need to select the device you want to port forward (e.g. Xbox Console)
- MAC Address - This will autofill once you've chosen a device.
- IP Address - This will autofill once you've chosen a device.
![Static DHCP Configuration]()
- Active - Switch on
- Now it's time to forward the port. At the top right of the screen, select the three black lines to open the Menu.
![Menu Button]()
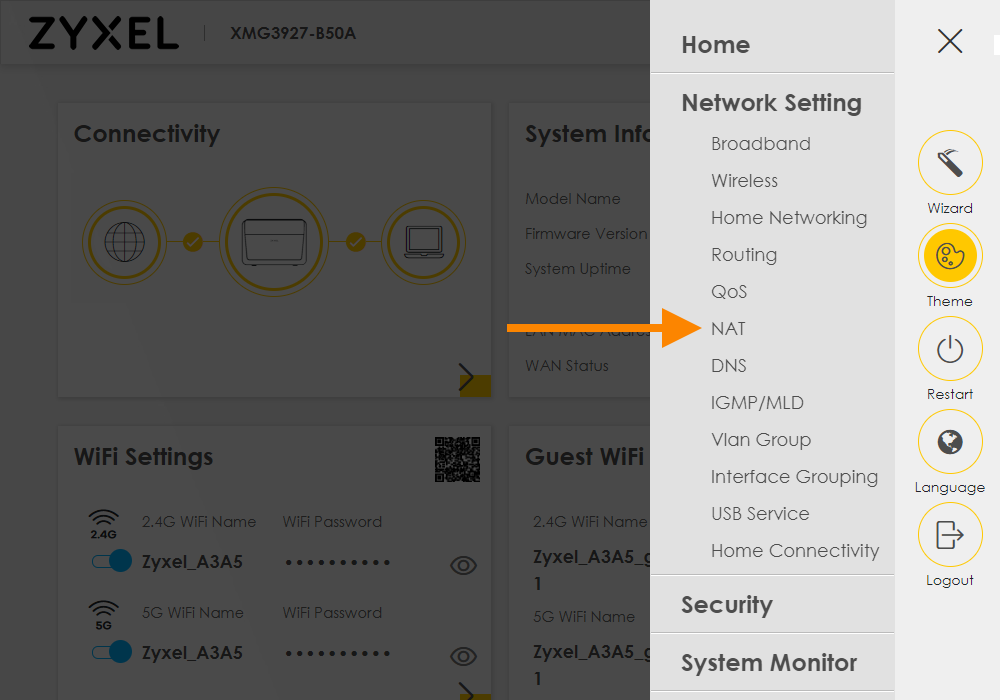
- Select Networking Setting then NAT.
![NAT]()
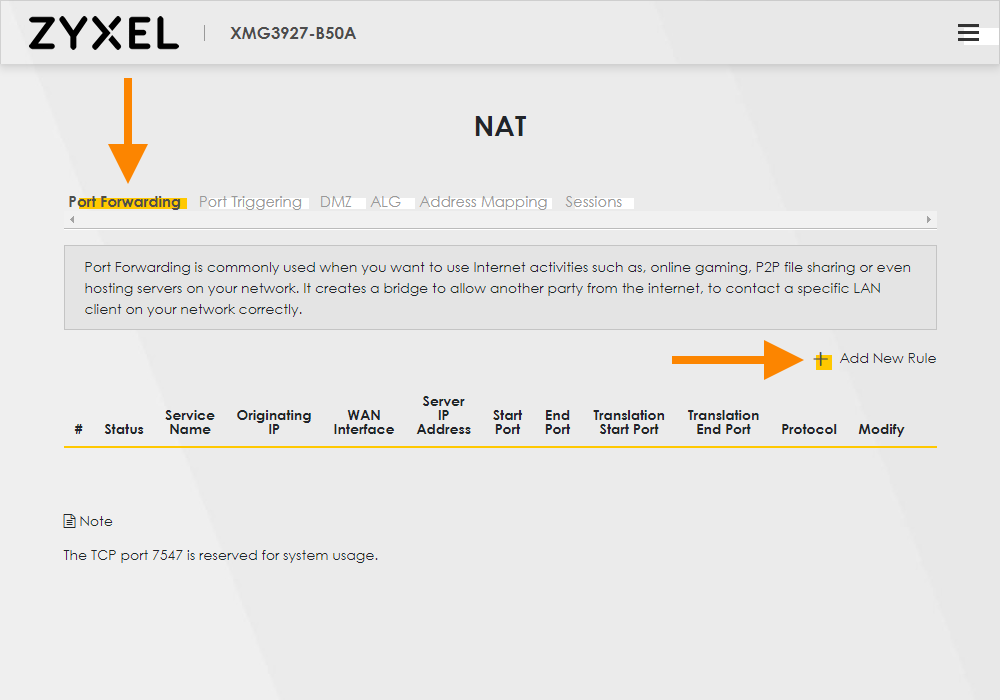
- A page labelled NAT will open. Make sure you're on the Port Forwarding tab and then press Add New Rule.
![NAT Settings]()
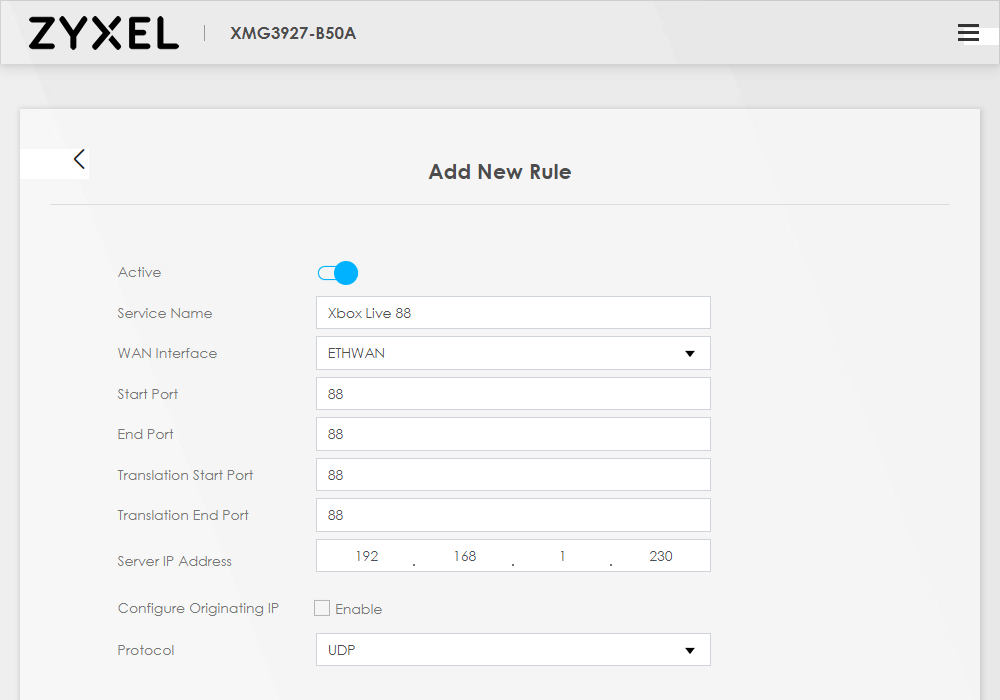
- A list of settings will now appear but you need to know what ports you need to forward before changing anything.
You can usually find the ports you need to forward, by looking on the website of the service you're wanting to forward. As port forwarding for games consoles is most common, you can find the ports and protocols for Xbox Live here, and for PlayStation here
- Active - Switch this on
- Service Name - Type in a name so you can identify why you're forwarding ports (we recommend the name of the service and then the port number)
- WAN Interface - Set this to the service you have with KCOM (Lightstream is ETHWAN)
- Start Port, End Port - If you're forwarding a single port, type the same port number in both of these boxes. If it's a range, type in the start port, then the end port.
- Translation Start Port, Translation End Port - These will autofill
- Server IP Address - Type in the IP address that you noted down in step 8 earlier
- Configure Originating IP - Leave this unticked
- Protocol - Set this to the correct value provided by the service you're forwarding
![Add New Rule]()
- Active - Switch this on
- Your ports will now be forwarded.


Was this article useful?